Stitched Dinosaur🦖
For my next free inquiry creation, I made a baby Triceratops! This project took two days to complete, as it was a tough one. I learned a new technique called stitching, used for a type of Rainbow Loom project called Loomigurimi, which is essentially crochet with Rainbow Loom bands. I’ve attached a video to this post that demonstrates a stitch. I had never heard of this technique before. The entire project was completed on just my hook, rather than the loom. I think it turned out pretty great for my first attempt. There were a few hiccups along the way as I had to restart the whole thing a few steps in and had to attempt one of the legs a couple of times. However, once I got the hang of stitching, it went a lot faster and was easier.
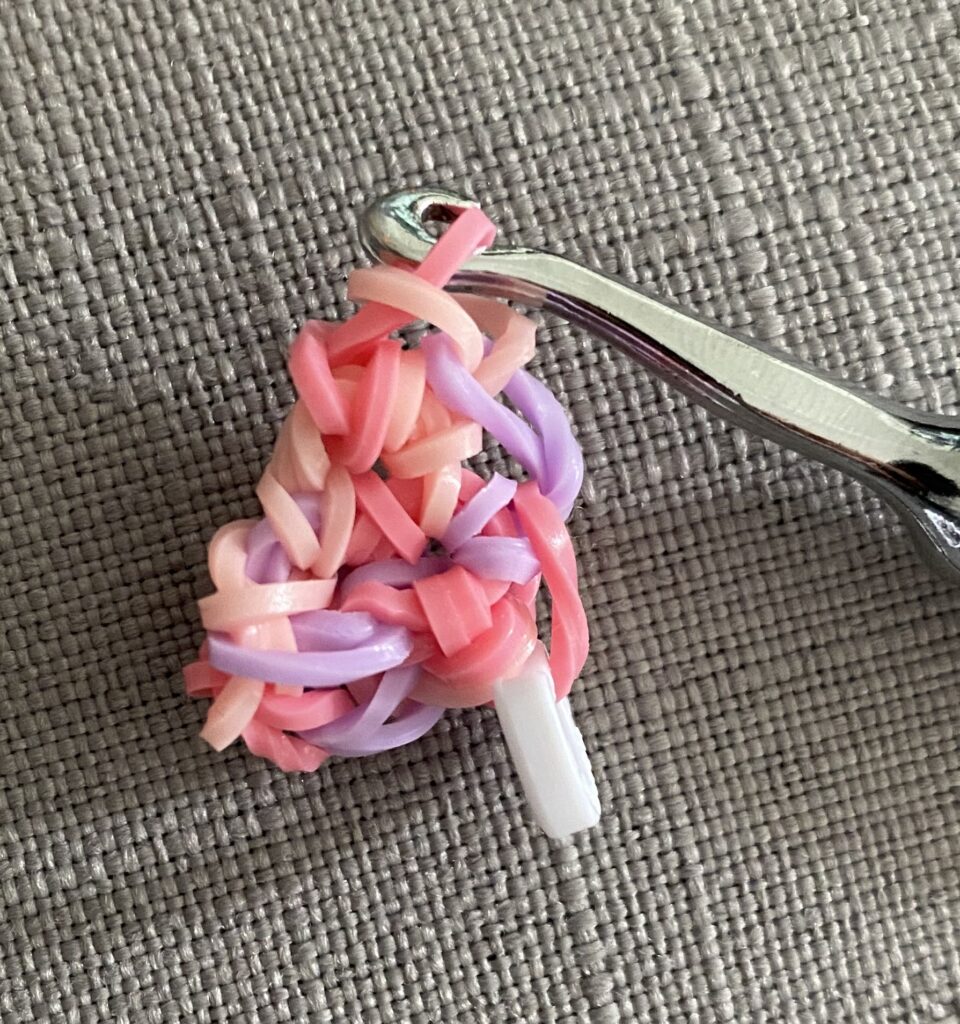
In this video, I demonstrate what a stitch looks like. This process of stitching was used to create the entire dinosaur.
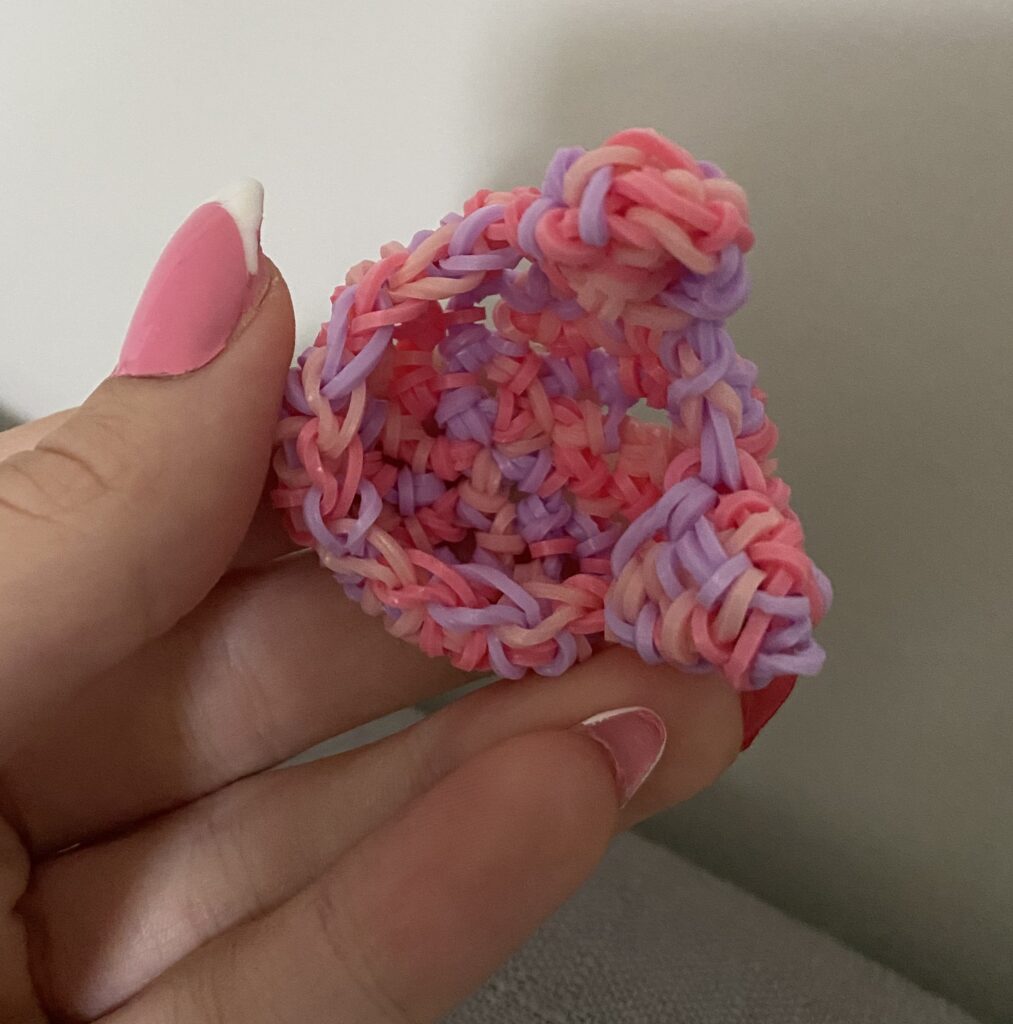
This is how the Triceratops began. I had to stitch in circles around until it grew into a bowl-like shape for the back.
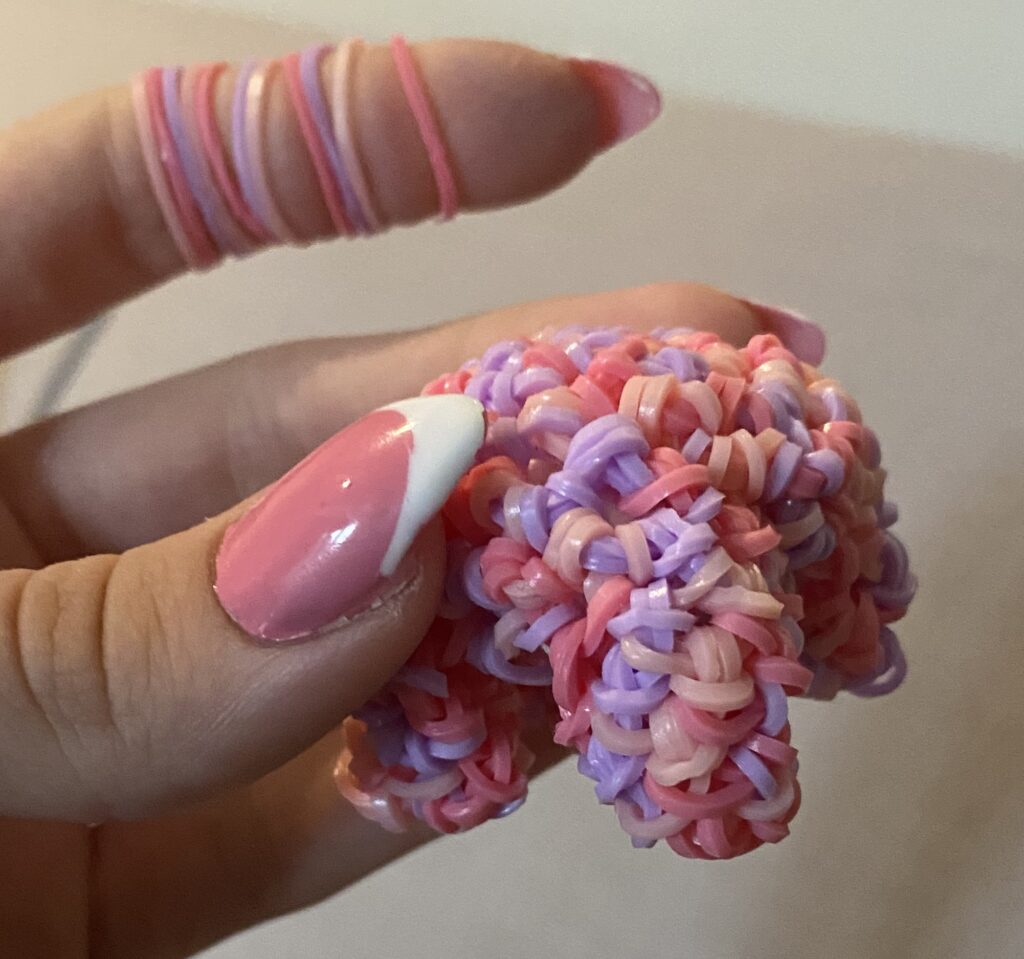
Here you can see the bowl-like shape with two of the legs attached. This was where I stopped for the day, as I hadn’t gotten the hang of stitching quite yet, and I had already been working on it for around an hour.
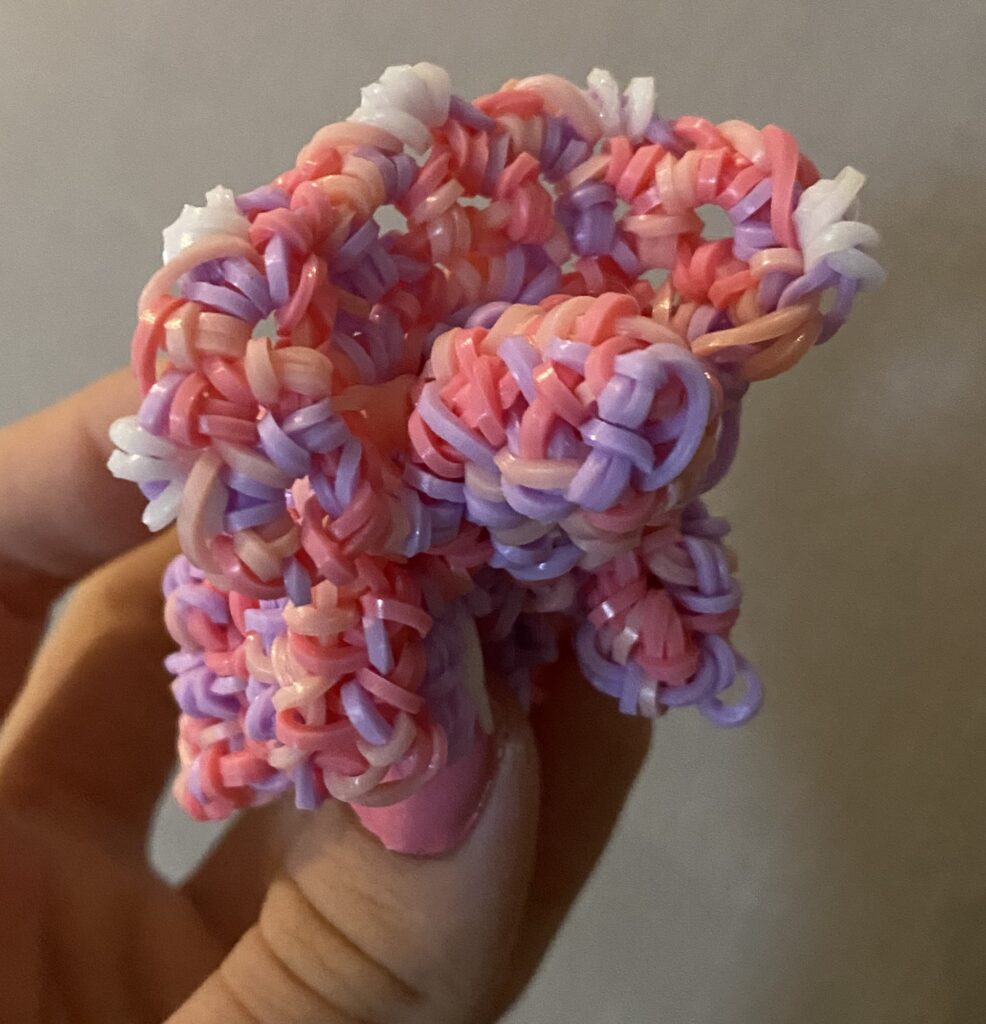
I picked it up again the next day, ready to try again, and stitching came a lot more quickly to me this time. I stitched on the last two legs and stuffed it with toilet paper, as I didn’t have cotton balls like the tutorial suggested.
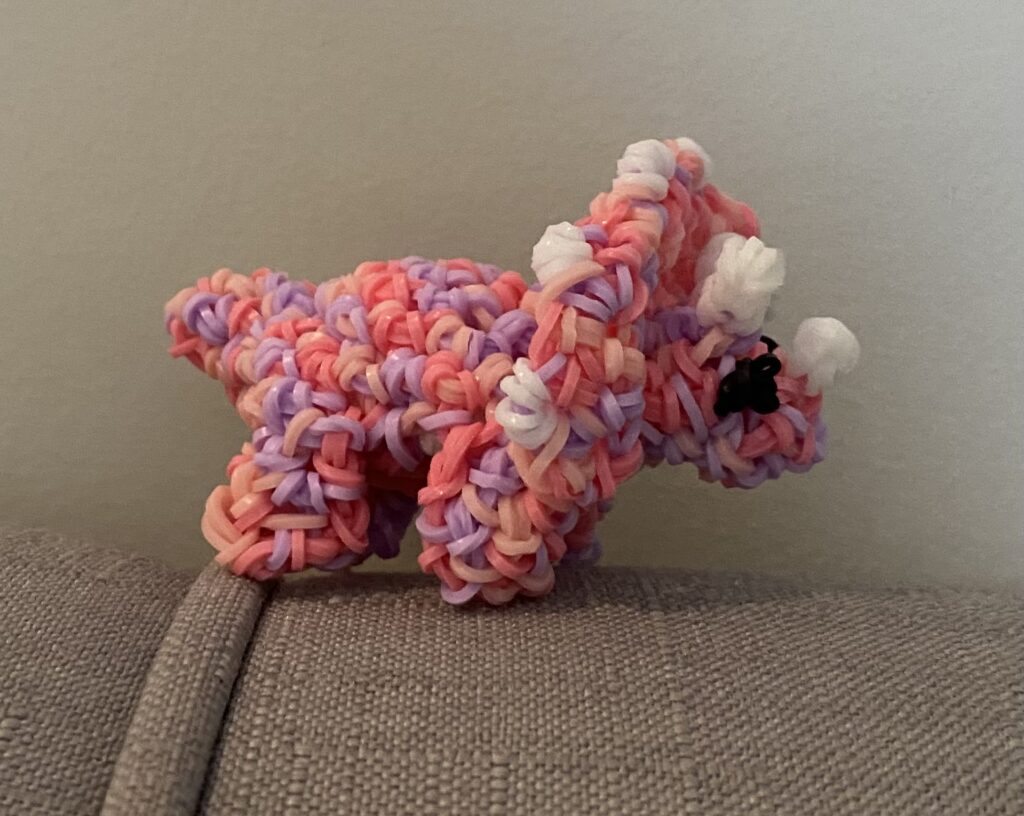
Here it is with the head and top frill stitched on. The head and tail were much easier than the legs now that I understood what to do. The frill ended up a little wonky, but it kind of looks like the Triceratops is tilting its head.
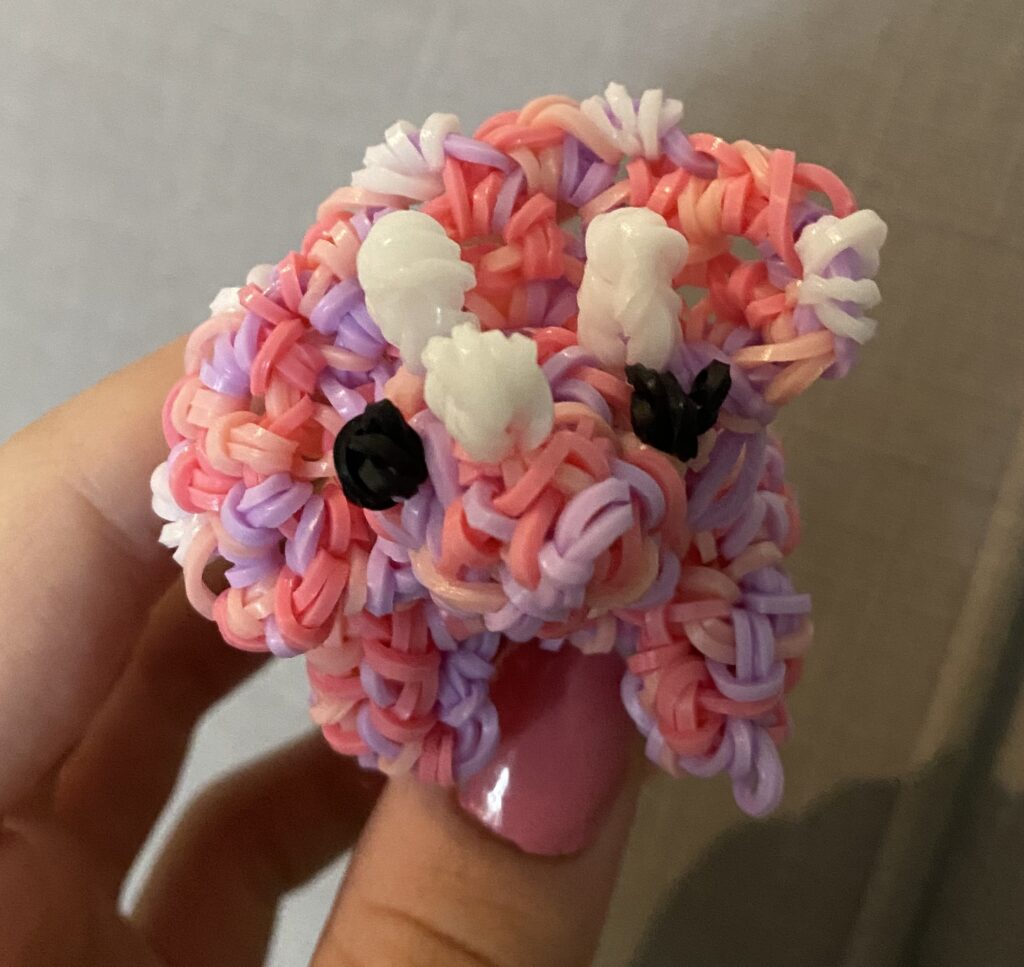
Horns and eyes stitched in, and it was done!
I’m so proud of how it turned out, and I loved learning a new technique! With this body pattern, I could make more 3D four-legged creatures, but it does use up a lot of bands.
Tutorial: https://www.youtube.com/watch?v=D_ZgqllVxgY&t=1s
Loomigurumi Triceratops Tutorial (Rainbowloom) by gingercel on YouTube